Homelab Series - New Hardware, NAS Expansion and Kubernetes
In this post I go over the progress made year - adding additional drives to my NAS, building a 3-node Kubernetes cluster, and setting up local LLMs. I never quite got around to writing about it this year; nonetheless, I have been working on these projects for some time now so it’s a good time for a bit of a checkpoint.
A quick recap
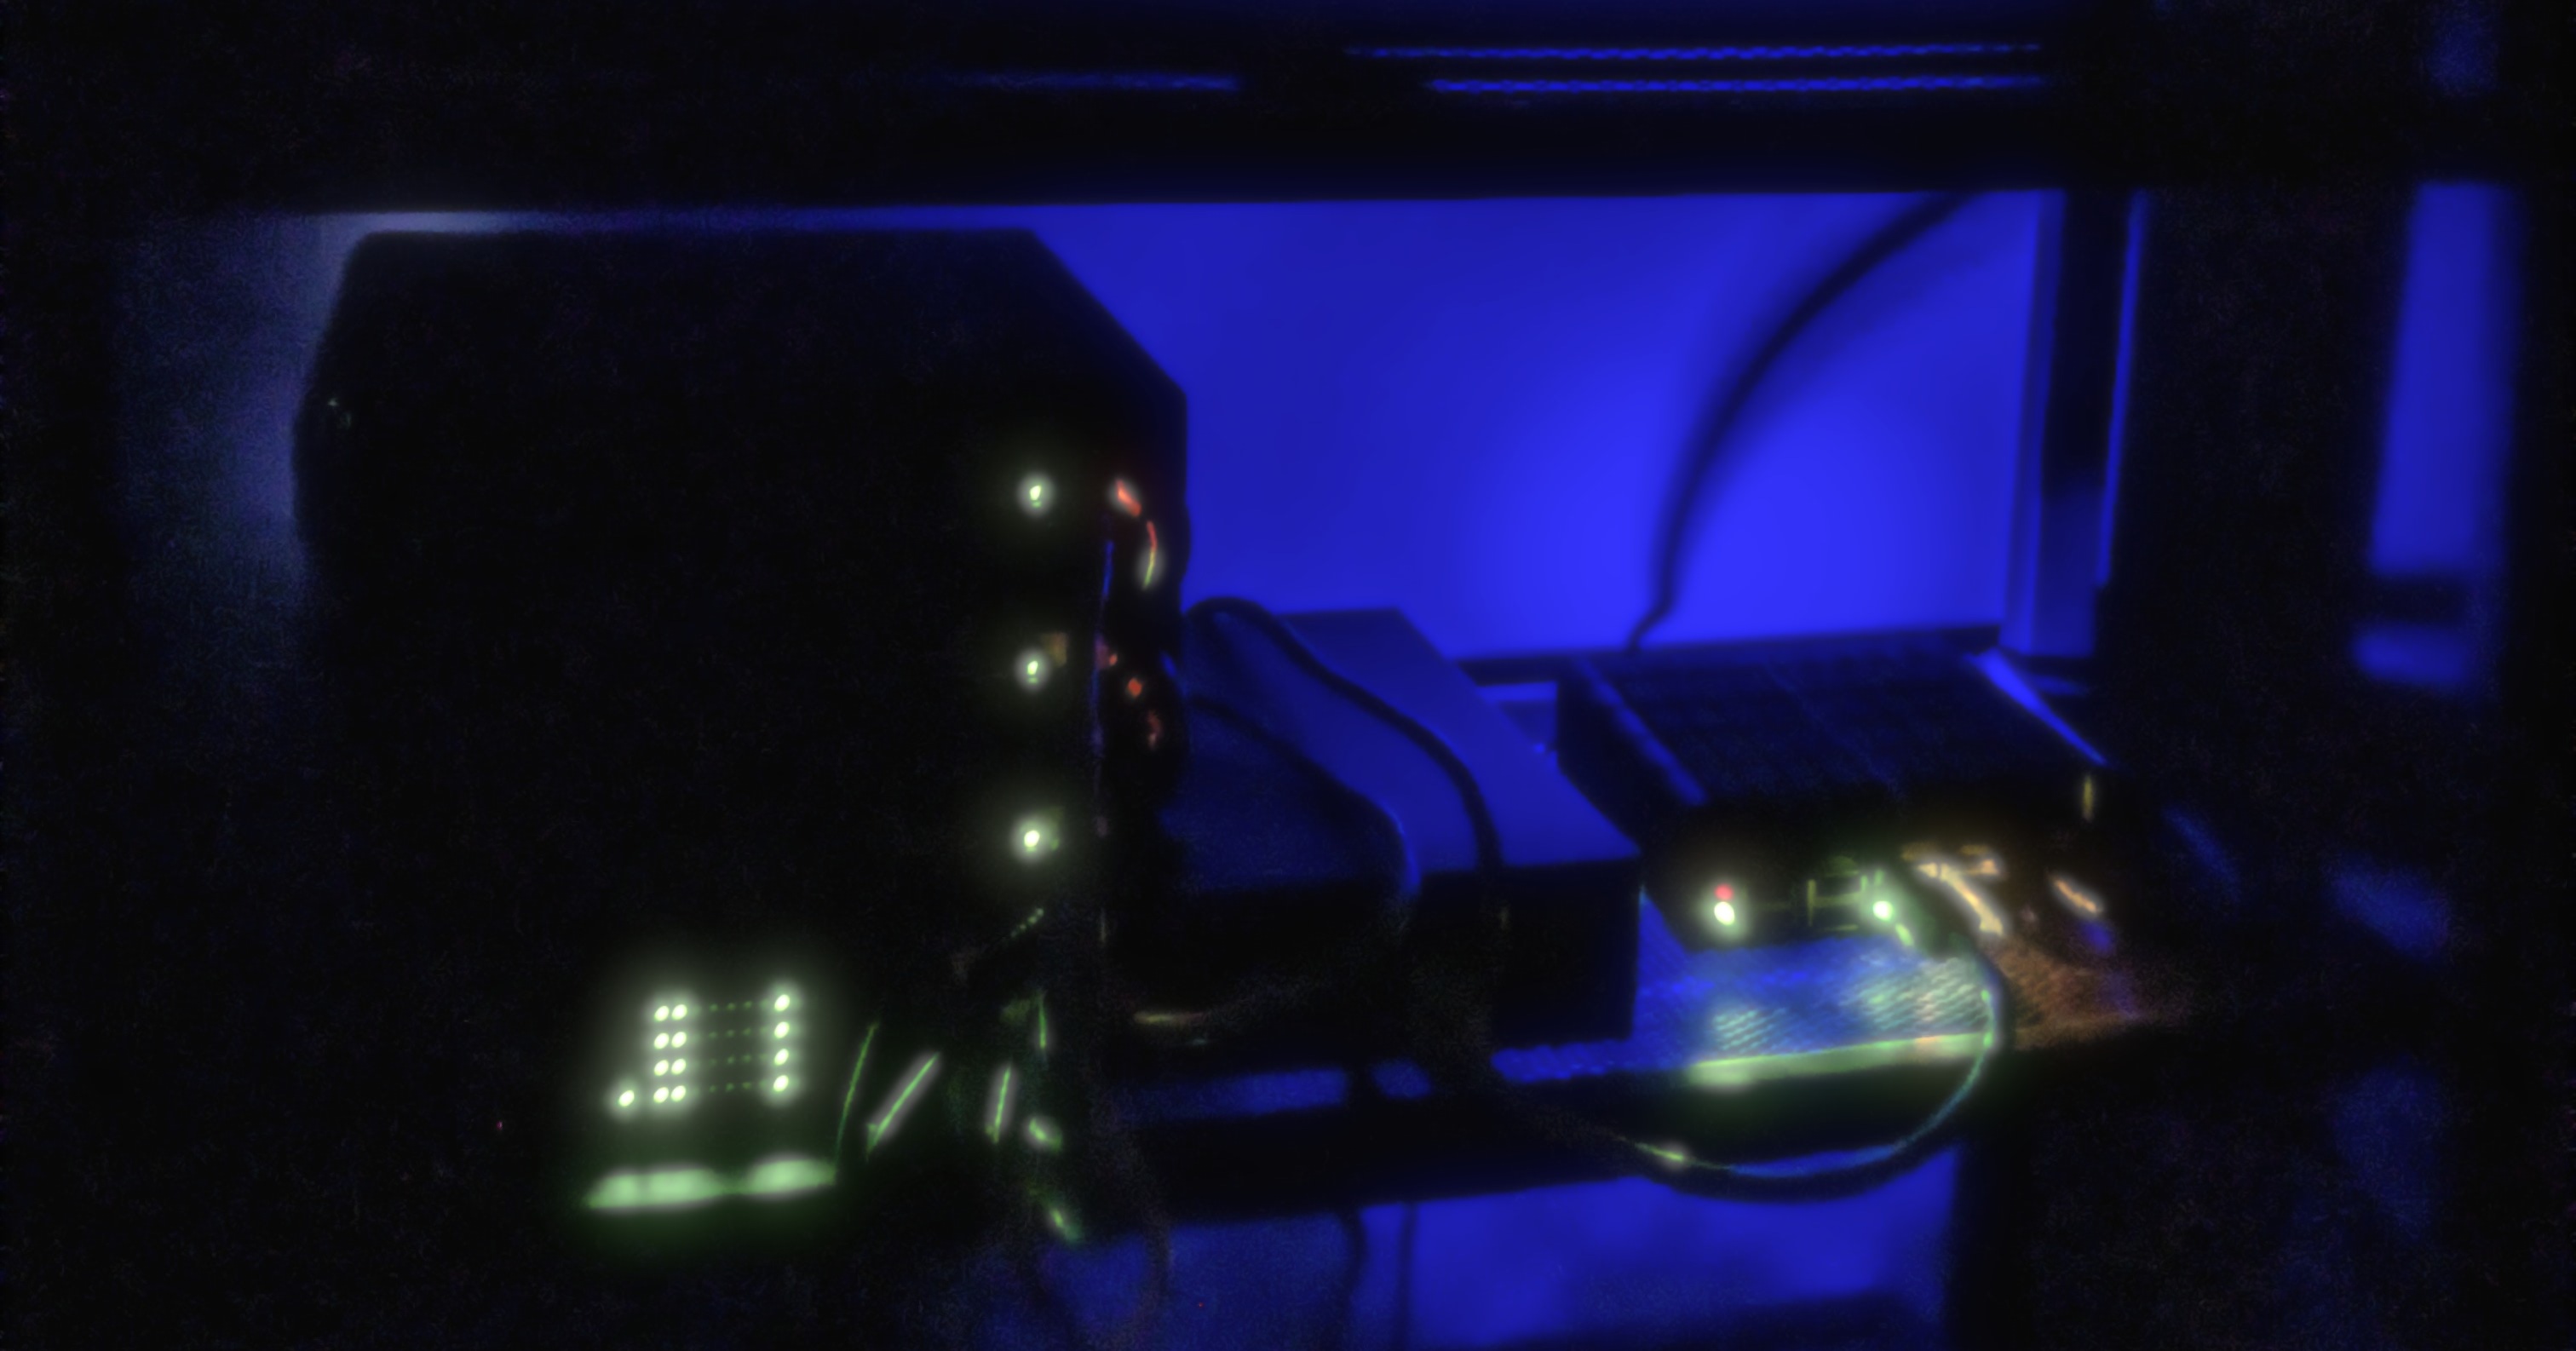
In the last post I had mentioned looking at the services I was running on my home network. It’s been nearly a year since then, and there have been quite a few changes. Let’s start with the hardware - I’ve upgraded the old switch to a 16 port one - I was running out of ports. I’ve also added a cheap UPS from Amazon that has been doing a good job keeping the servers up when the circuit breaker trips. Recently, I decommissioned my gaming rig - it now serves as a GPU server for local AI experiments.
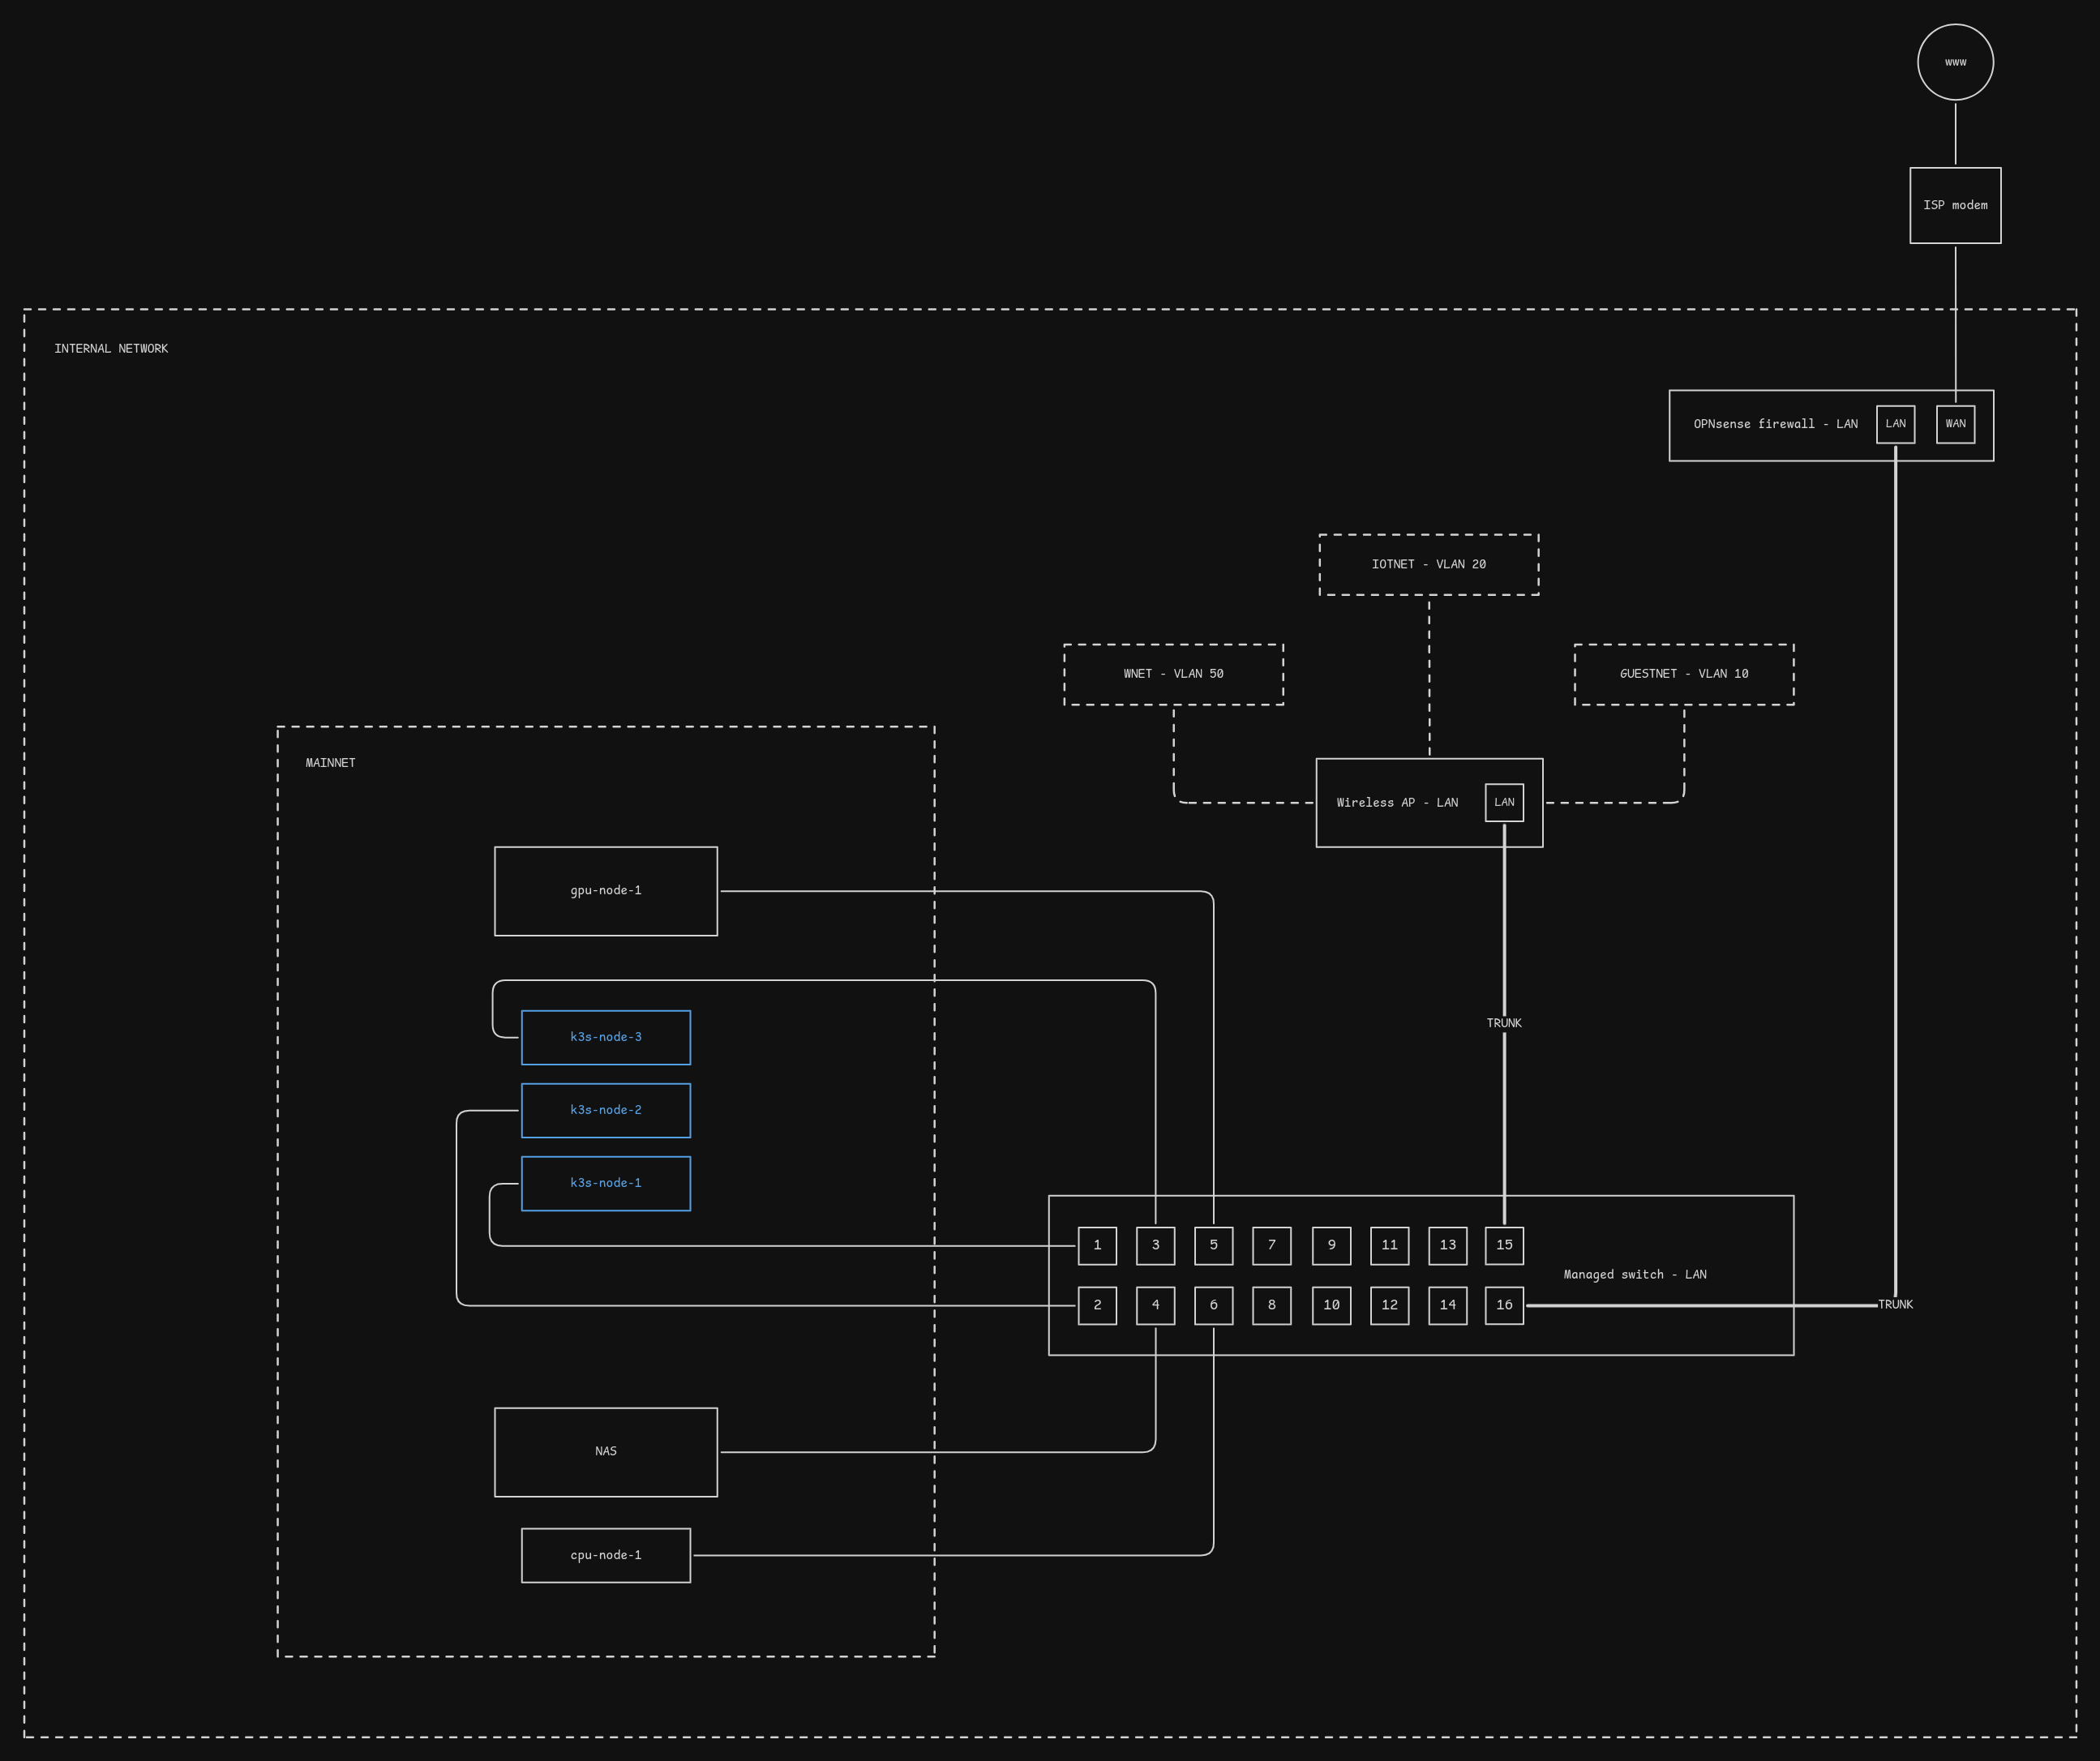
Here’s a high level overview of the physical devices and logical network mapping:
NAS build
For the NAS build I bought a secondhand HP SFF for $100, and picked up 3 WD Red 3TB HDDs for $100 - coming down to a grand total of just $200. Highly recommend going for secondhand hardware, as it’s cheaper than buying new hardware and you can recycle the old stuff.
Setup - TrueNAS Scale
After installing TrueNAS Scale on the box, I went with a mirrored VDEV using 2 of 3 HDDs to start with, leveraging the data redundancy and snapshot features of the ZFS filesystem. Performance-wise it was good, only suffering from my physical network’s bottleneck of 1Gbps. Although it was enough storage space at first, eventually I needed more, and so the process of expansion crossed my mind.
I had a spare 2TB HDD, and the unused 3TB HDD. Here I faced some challenges and uncertainties:
- The motherboard has a total of 4 SATA ports, of which 2 were in use by the HDDs, and 1 in use by the SSD boot drive. This left me with only one SATA port available for use.
- The molex power cable splitter only had 3 connectors.
- I wasn’t sure if the PSU could power all the drives safely.
- I couldn’t see a neat way of fitting all the drives in the box itself.
After some research I landed on the following solution:
- dedicate all 4 SATA ports to the 4 HDDs in a 2x2 mirrored configuration,
- run the boot SSD via USB SATA adapter,
- remove the DVD unit.
This left me with just needing to grab a USB SATA adapter which I had laying around, and I needed to buy a molex splitter for under $10. Once I had gathered everything, I did a clean shutdown of the NAS and installed the extra drives.
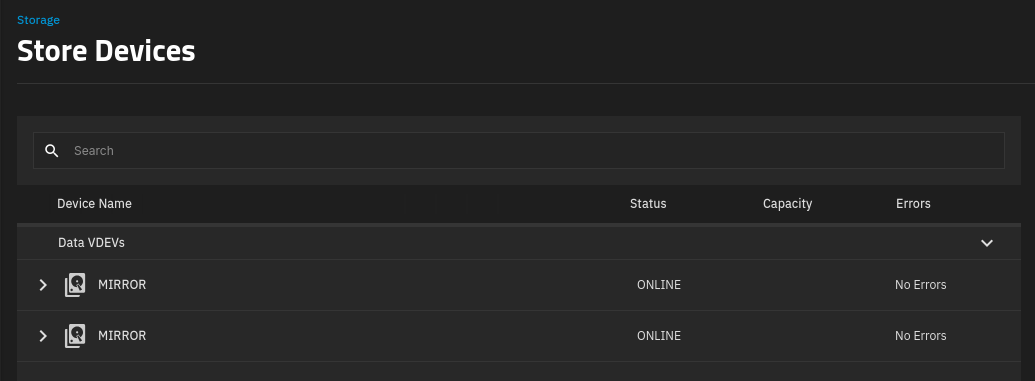
I closed the lid and prepared myself for a potential fire as I powered it on. Fortunately, all went well. So I proceeded to the web interface to setup a second mirrored VDEV, increasing capacity by 2TB - as the data redundancy was worth sacrificing the 1TB of usable space. The other option would’ve been to go with a striped VDEV, but that was off the table as one disk failure would mean a 25% chance of data loss.
A usable capacity increase of 2TB, without buying new drives! If I will need more space in the future, replacing each drive and resilvering will be the way to go for me.
Kubernetes and GitOps
I originally ran a Proxmox cluster (technically it still is a Proxmox cluster) on 3 HP EliteDesk mini PCs, but I’ve since allocated most of each nodes resources to a single VM on each node running k3s, a popular lightweight distribution of Kubernetes. Reasoning for this was to get practical experience with Kubernetes while maintaining my homelab. I also wanted to simplify the infrastructure and automate a lot of toil using Helm and Terraform.
There’s a lot to unpack here since my last update so I’ll leave my GitOps repository here for those interested.